FaceTime is a fantastic method for iOS and Mac users to keep in touch with their loved ones and share their precious moments of life. And sometimes you might want to record these cherished moments using FaceTime with audio. iPhone features get updated with the new version of iOS, and this time a lot of new features have been added and disabled by Apple. However, here we are talking about the feature of “screen recording with audio“. In today’s guide, we will show you how to record FaceTime with audio.
A Quick & Easy Guide To Record FaceTime With Audio
We know there are many people interested in knowing how to record FaceTime with audio. But, first you should know this feature is, intentionally deactivated by Apple to protect the privacy of other people, but there is a working solution available.
You can record Facetime in both iPhone and Mac, we explained the working methods for both devices in detail. Follow the steps precisely to record Facetime in both iPhone and Mac.
How To Record FaceTime With Audio On iPhone
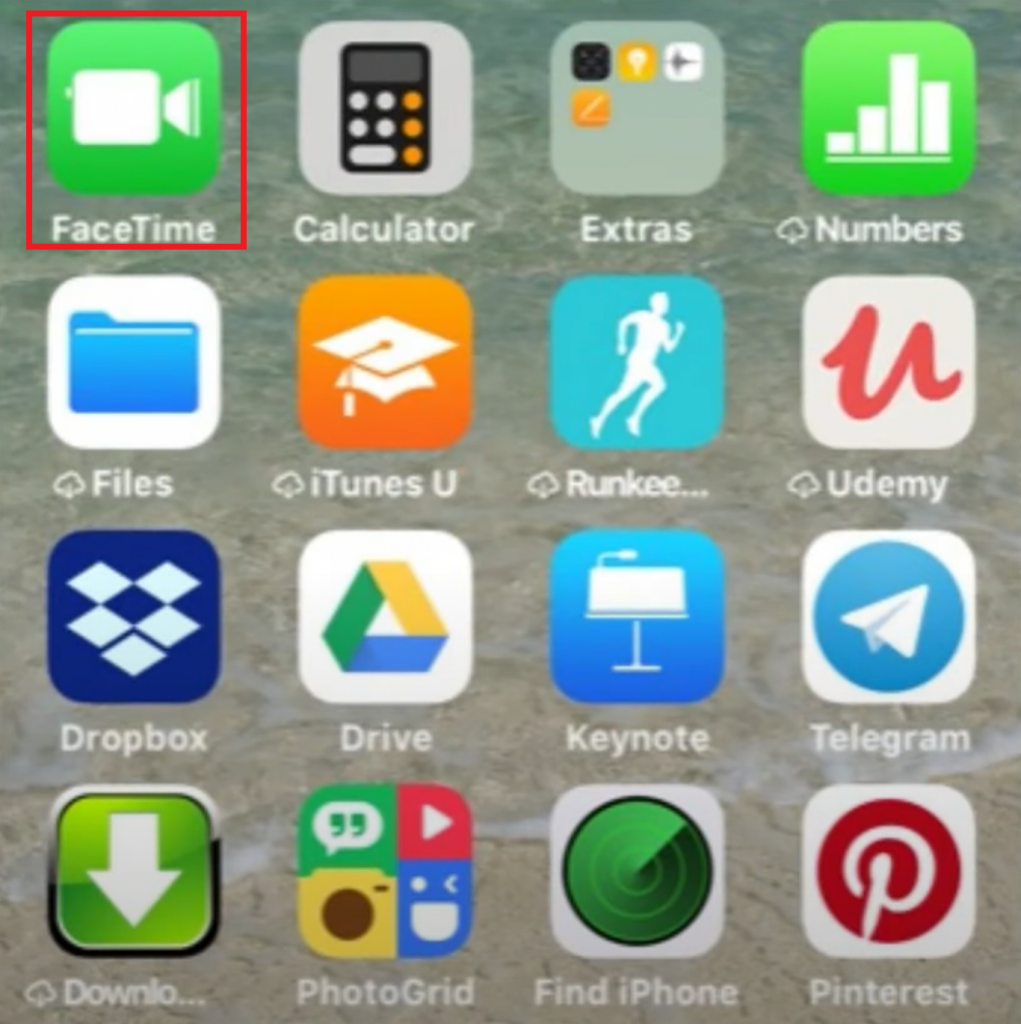
#1. Open Facetime and start a call.
#2. Swipe up from your iPhone screen below to access “Control Center“.
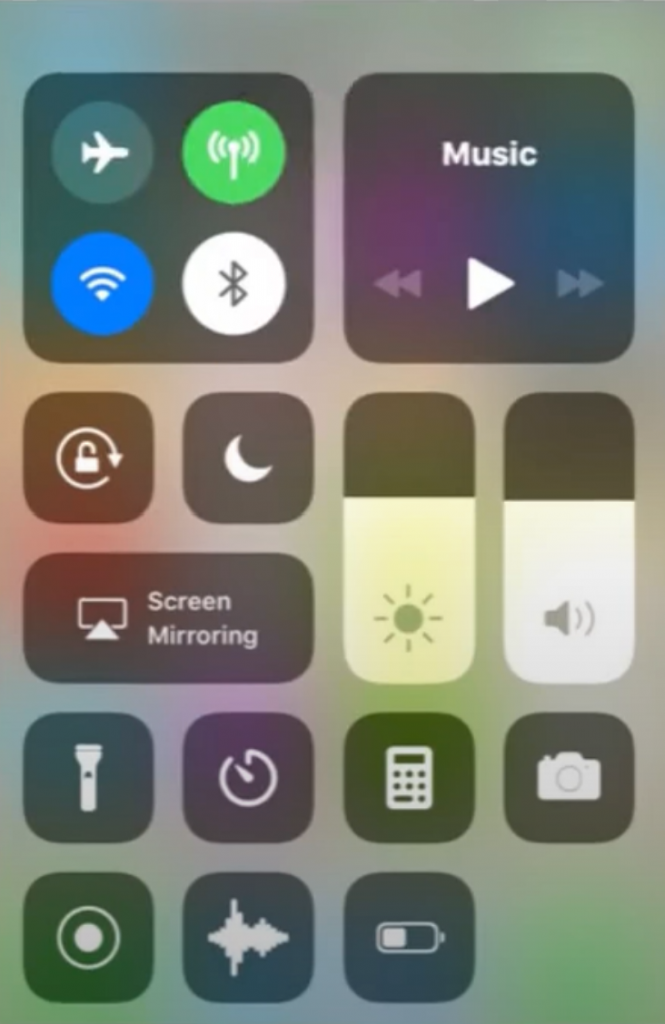
Note: You will be able to find several shortcuts for airplane mode, WIFI, and music in the control center. You can edit the shortcuts from the “Customize Controls” option if you want to change them.
#3. Hold the “Screen Recording” option until you see the microphone activation option. This captures sounds from your mic, which requires you to modify the volume levels for better sound.
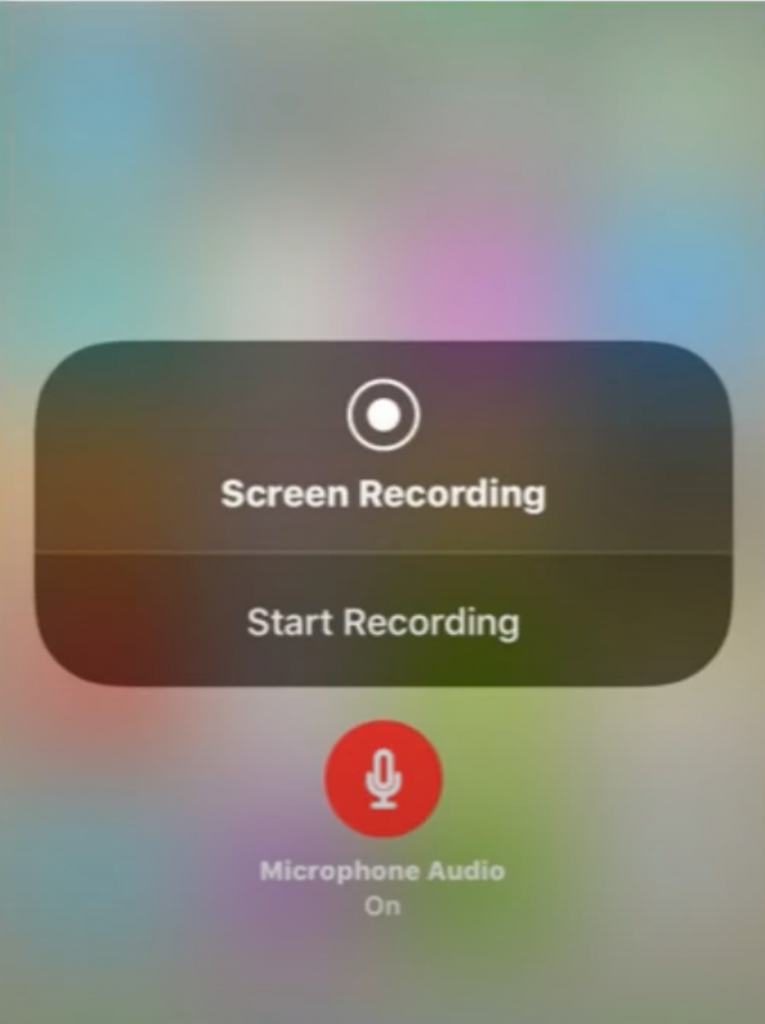
#4. For quick access, a recording status in red will appear on the top left of your screen. Once the recording is complete, tap the “Status Bar” and select the “Stop” button in the dialogue box.
#5. Another method to stop screen recording is by bringing the “Control Center” up.
Hurray! you successfully recorded FaceTime with audio on your iPhone, now to access the recorded files open your gallery or photos app.
How To Record FaceTime With Audio On iPad
#1. Launch the Facetime app and start a call.
#2. Swipe up from your iPad screen below to access the “Control Center“.
Note: You will be able to find several shortcuts for airplane mode, WIFI, and music in the control center. You can edit the shortcuts from the “Customize Controls” option if you want to change them.
#3. Hold the “Screen Recording” option until you see the turn on microphone option. This captures sounds from your mic, which requires you to modify the volume levels for better sound.
#4. For quick access to recording options, a recording status in red will appear on the top left of your screen.
#5. Once the recording is complete, tap the “Status Bar” and select the “Stop” button in the dialogue box.
#6. Another method to stop screen recording is by bringing the “Control Center” up.
Hurray! you successfully recorded FaceTime on your iPad, now if you want to access the files you recorded open your photos or gallery app.
Also See: How To Pause Facetime In iOS 14
How To Record FaceTime With Audio On Mac
On a Mac, the QuickTime player is one of the alternatives. Follow the steps given below to record audio on your Mac:
#1. To record videos on your mac, first set up QuickTime.
#2. Launch QuickTime and select “File“.
#3. Click on “New Screen Recording” and wait for a popup window
#4. Click on the drop-down arrow next to the record button
#5. Select the device you are using in “Microphone” from the list of devices.
Note: The option also lets you choose the saved location of your files.
#6. Open the FaceTime application.
#7. Click on the red button in QuickTime to record.
#8. Click on the FaceTime window to record a call and click on your screen if you want to record the full screen.
Congratulations! it’s done now just start a FaceTime call and you’re good to go.
Wrapping Up!
As things proceed, our social interaction applications will be further enhanced. And that doesn’t stop there. Well, now you know how you can record FaceTime with audio, use the above methods and stay connected to your loved ones and create beautiful memories. Share these tips with your family and friends so they can also take the benefit from these hidden features. For more helpful How-To-Guides like this check out our other articles.


